TL;DR
The Short Answer
To build a LangGraph agent in Python:
uv add langgraph langchain "langchain[openai]"(LangGraph is at 1.2.x; Python 3.10+) and setOPENAI_API_KEY.- Define state (
MessagesStatefor a chat agent), write nodes as plain functions that return partial state updates, and connect them with edges fromSTARTtoEND. - Add tools:
model.bind_tools(tools), aToolNode(tools)node, and a conditional edge withtools_conditionthat loops back to the model. That's a ReAct agent written by hand. - Compile with a checkpointer (
InMemorySaver) and pass athread_idto get memory. - Call
interrupt()inside a node or tool to pause for human approval, and continue withCommand(resume=...). - Use
graph.stream(..., stream_mode="updates")or"messages"to stream progress and tokens.
Heads-up: if you only need a standard tool-calling agent, LangChain's create_agent builds this whole loop in one call, and it runs on LangGraph. langgraph.prebuilt.create_react_agent, which most older tutorials use, is deprecated in LangGraph v1.
Introduction to LangGraph - Python
Visit ↗LangChain Academy · Free · certificate not stated · Intermediate · 6 hours of video
The best free LangGraph course: six hours from the team that builds it, covering reducers, interrupts, time travel, subgraphs, long-term memory and deployment, well past what this tutorial covers.
AI Agents in LangGraph
Visit ↗DeepLearning.AI (with LangChain and Tavily) · Free · paid certificate · Intermediate · 1h 47m
A fast, under-two-hour intro where Harrison Chase builds an agent from scratch and then in LangGraph; it was recorded before LangGraph 1.0, so check its imports against the current docs.
LangGraph Core Concepts: State, Nodes, Edges, Reducers
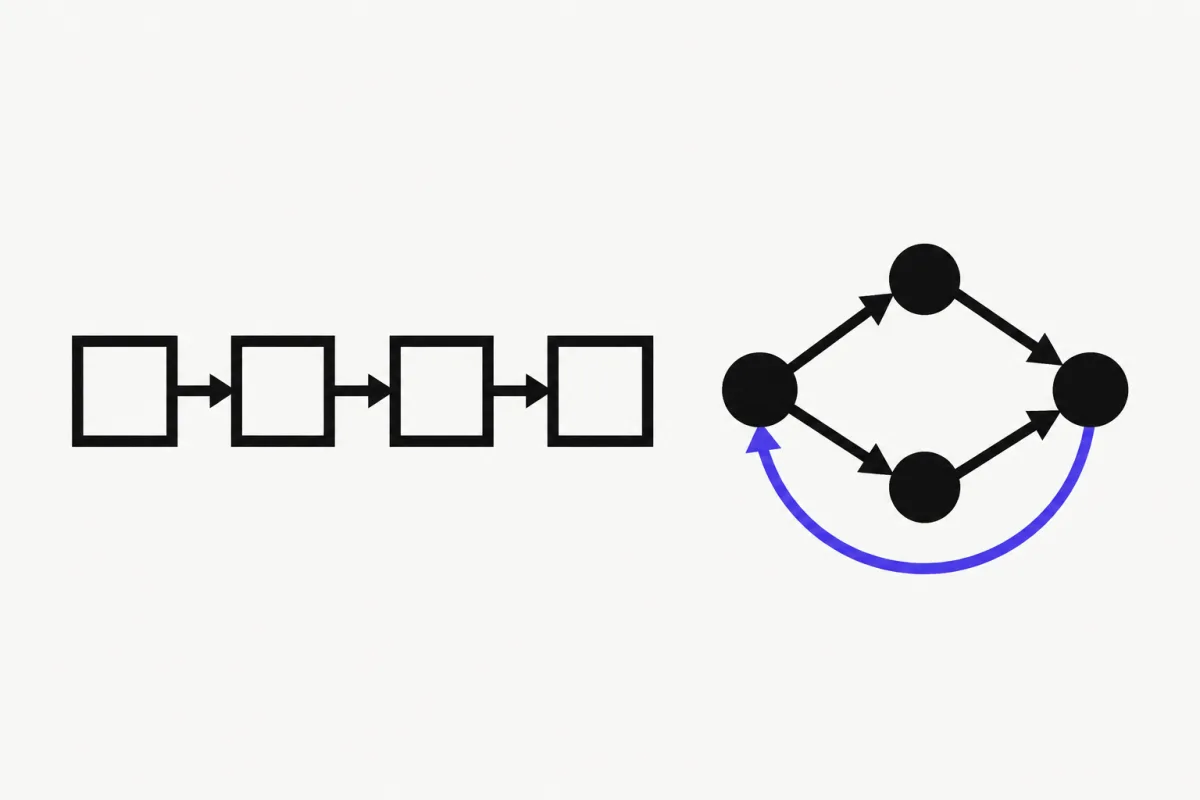
LangGraph describes itself as "a low-level orchestration framework and runtime for long-running, stateful agents." In practice you build a graph:
- State is a schema whose keys are channels. Every node receives the current state.
- Nodes are functions. They return a partial update (only the keys they changed), not the whole state.
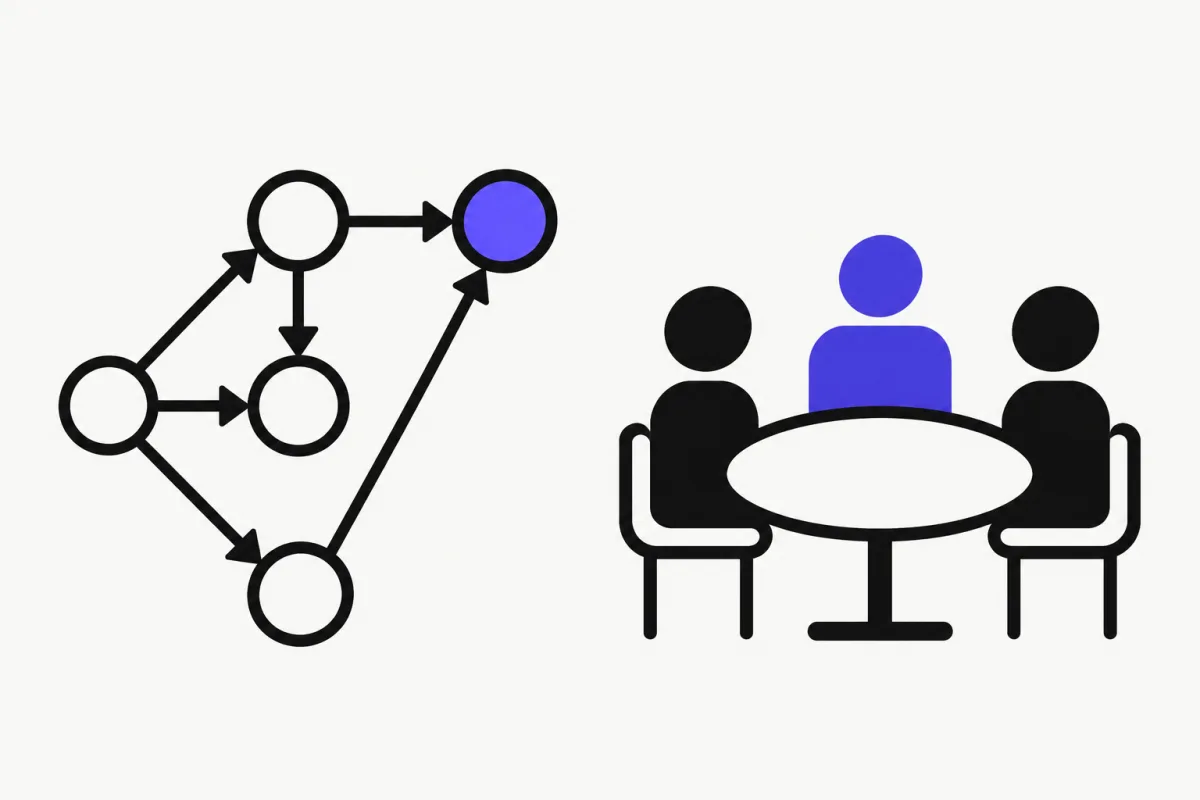
- Edges say what runs next. Normal edges are fixed; conditional edges call a routing function and go wherever it returns.
- Reducers decide how an update merges. Without one, a new value overwrites the old one. With
operator.add, lists are appended. For chat messages, useadd_messages, which appends new messages and updates existing ones by ID. - A checkpointer saves the state after every step under a
thread_id. That single feature gives you memory, pause and resume, human-in-the-loop and crash recovery.
MessagesState is a prebuilt state with one messages key that already uses add_messages. When you need more keys, subclass it or write your own:
import operator
from typing import Annotated, TypedDict

from langchain.messages import AnyMessage
from langgraph.graph.message import add_messages


class State(TypedDict):
    messages: Annotated[list[AnyMessage], add_messages]  # append chat messages
    notes: Annotated[list[str], operator.add]            # append strings
    attempts: int                                         # plain overwrite
You must call compile() before you can invoke or stream a graph. Compiling checks the structure and attaches the checkpointer.
| What it is | In code | |
|---|---|---|
| State | The shared data every node reads and updates | A TypedDict, dataclass or Pydantic model; MessagesState for chat |
| Node | One step of work: call a model, run tools, plain Python | builder.add_node("agent", agent) |
| Edge | A fixed transition from one node to the next | builder.add_edge(START, "agent") |
| Conditional edge | A function that picks the next node at runtime | builder.add_conditional_edges("agent", tools_condition) |
| Reducer | How a node's update merges into a state key | Annotated[list, operator.add] or add_messages |
| Checkpointer | Saves state after every step, per thread_id | builder.compile(checkpointer=InMemorySaver()) |
| Interrupt | Pauses the graph until a human (or your app) resumes it | interrupt(payload), then Command(resume=value) |
Step 1: Install LangGraph and Set Your API Key
You need Python 3.10 or newer (LangGraph's PyPI minimum). Use 3.11+ if you want to run the local dev server and Studio later, because the LangGraph CLI requires it.
We'll use uv, but pip install -U langgraph langchain "langchain[openai]" works the same. langgraph is the runtime. langchain gives you init_chat_model, message classes and the @tool decorator, and the [openai] extra installs the OpenAI integration. LangGraph doesn't require LangChain, but nearly every official example uses it for models and tools, and so do we.
Any provider works. For Anthropic, install "langchain[anthropic]", set ANTHROPIC_API_KEY and use an anthropic:... model string; for Gemini, "langchain[google-genai]" and GOOGLE_API_KEY.
uv init langgraph-tutorial
cd langgraph-tutorial
uv add langgraph langchain "langchain[openai]"

export OPENAI_API_KEY="sk-..."
Step 2: Build a Minimal Graph
Start with the smallest useful graph: one node that calls the model. init_chat_model takes a provider:model string, so switching providers is a one-line change.
Three things to notice:
- The node returns
{"messages": [reply]}, a partial update. BecauseMessagesStateuses theadd_messagesreducer, the reply is appended to the conversation instead of replacing it. STARTandENDare special nodes. Every graph needs an edge out ofSTART.- You can pass messages as plain dicts. LangGraph converts them to message objects.
Run it with uv run hello.py. The result is the final state, so result["messages"] holds both your question and the model's answer.
from langchain.chat_models import init_chat_model
from langgraph.graph import StateGraph, MessagesState, START, END

model = init_chat_model("openai:gpt-5.5")


def chatbot(state: MessagesState):
    return {"messages": [model.invoke(state["messages"])]}


builder = StateGraph(MessagesState)
builder.add_node("chatbot", chatbot)
builder.add_edge(START, "chatbot")
builder.add_edge("chatbot", END)
graph = builder.compile()

result = graph.invoke(
    {"messages": [{"role": "user", "content": "Explain LangGraph in one sentence."}]}
)
result["messages"][-1].pretty_print()
Step 3: Add Tools and a ReAct Loop
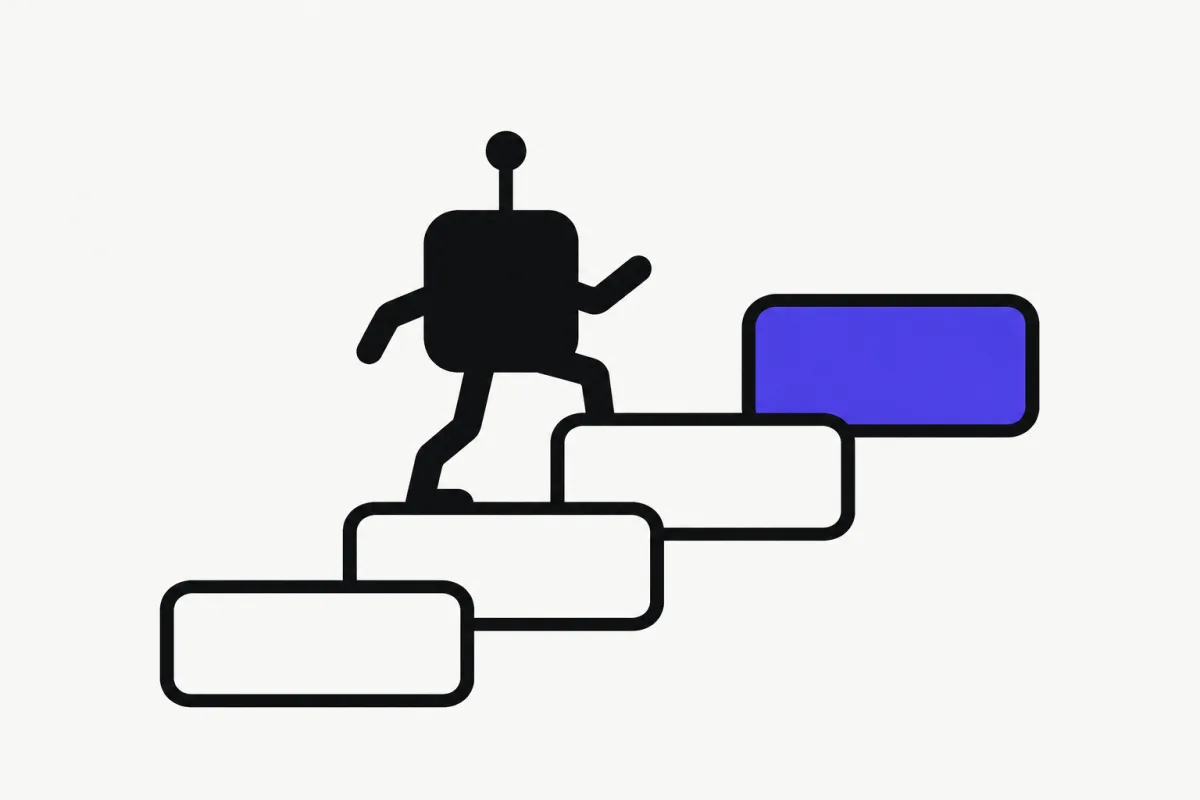
Now the real agent: a support agent for an online store with two tools, lookup_order and issue_refund. This is the ReAct pattern (reason, act, observe, repeat), written as a graph:
bind_tools(tools)tells the model which tools exist, using each function's name, type hints and docstring as the schema.ToolNode(tools)is a prebuilt node that runs every tool call in the last AI message and returns the results asToolMessages.tools_conditionis a prebuilt routing function: it returns"tools"if the last message has tool calls, andENDotherwise. That's why the tool node must be named"tools".- The edge from
"tools"back to"agent"closes the loop. The model sees the tool results and decides whether to call more tools or answer.
Both ToolNode and tools_condition live in langgraph.prebuilt, and unlike create_react_agent they aren't deprecated. If you want to see the loop with no helpers at all, our LangChain vs LangGraph comparison writes the tool node and router by hand.
Save this as agent.py; the next steps import builder from it. The graph is compiled at module level so the dev server in a later section can find it.
from langchain.chat_models import init_chat_model
from langchain.messages import SystemMessage
from langchain.tools import tool
from langgraph.graph import StateGraph, MessagesState, START
from langgraph.prebuilt import ToolNode, tools_condition

ORDERS = {
    "A100": {"item": "Mechanical keyboard", "status": "delivered", "total": 129.00},
    "A101": {"item": "USB-C dock", "status": "in transit", "total": 89.50},
}


@tool
def lookup_order(order_id: str) -> str:
    """Look up an order's item, shipping status and total. order_id looks like 'A100'."""
    order = ORDERS.get(order_id)
    if order is None:
        return f"No order found with ID {order_id}."
    return f"{order_id}: {order['item']}, {order['status']}, total {order['total']:.2f} USD"


@tool
def issue_refund(order_id: str, amount: float) -> str:
    """Refund part or all of an order, in USD."""
    return f"Refunded {amount:.2f} USD for order {order_id}."


tools = [lookup_order, issue_refund]
model = init_chat_model("openai:gpt-5.5").bind_tools(tools)
SYSTEM = SystemMessage(
    content="You are a support agent for an online store. "
    "Always look an order up before answering questions about it. Keep replies short."
)


def agent(state: MessagesState):
    return {"messages": [model.invoke([SYSTEM] + state["messages"])]}


builder = StateGraph(MessagesState)
builder.add_node("agent", agent)
builder.add_node("tools", ToolNode(tools))
builder.add_edge(START, "agent")
builder.add_conditional_edges("agent", tools_condition)
builder.add_edge("tools", "agent")

graph = builder.compile()

if __name__ == "__main__":
    result = graph.invoke(
        {"messages": [{"role": "user", "content": "Has order A101 shipped yet?"}]}
    )
    for message in result["messages"]:
        message.pretty_print()
Step 4: Add Memory With a Checkpointer
Right now every invoke starts from scratch. To make the agent remember a conversation, compile the same builder with a checkpointer and pass a thread_id in the config. LangGraph saves the state after every step under that thread; the next call with the same thread_id loads it first, and a new thread_id starts a fresh conversation.
InMemorySaverkeeps checkpoints in RAM and loses them on restart. Use it for development and tests.- For production, use a durable saver:
PostgresSaverfromlanggraph.checkpoint.postgres(packagelanggraph-checkpoint-postgres, withAsyncPostgresSaverfor async code) orSqliteSaver(langgraph-checkpoint-sqlite). graph.get_state(config)returns a snapshot of the thread, so you can inspect exactly what the agent knows.
A checkpointer is short-term, per-thread memory. For facts that should survive across threads (a user's preferences, say), LangGraph has stores: builder.compile(checkpointer=..., store=InMemoryStore()), read and written from your nodes.
from langgraph.checkpoint.memory import InMemorySaver

from agent import builder

graph = builder.compile(checkpointer=InMemorySaver())
config = {"configurable": {"thread_id": "customer-42"}}

graph.invoke(
    {"messages": [{"role": "user", "content": "Hi, I'm Ana. My order is A100."}]},
    config,
)
result = graph.invoke(
    {"messages": [{"role": "user", "content": "What's my name, and did my order arrive?"}]},
    config,
)
result["messages"][-1].pretty_print()  # knows "Ana" and order A100

snapshot = graph.get_state(config)
print(len(snapshot.values["messages"]), "messages saved in this thread")
Step 5: Add Human-in-the-Loop With interrupt()
Letting a model issue refunds on its own is a bad idea. LangGraph's answer is interrupt(): call it anywhere in a node or a tool, and the graph saves its state, stops, and returns the payload you passed to it. Your app shows that payload to a human, then resumes the same thread with Command(resume=value). Inside the paused code, interrupt() returns that value.
First, change issue_refund in agent.py so it asks before acting:
from langgraph.types import interrupt


@tool
def issue_refund(order_id: str, amount: float) -> str:
    """Refund part or all of an order, in USD. A human must approve it."""
    decision = interrupt({"action": "issue_refund", "order_id": order_id, "amount": amount})
    if decision != "approve":
        return f"A human reviewer rejected the refund for {order_id}."
    return f"Refunded {amount:.2f} USD for order {order_id}."
Then run the graph with a checkpointer (interrupts need one, and you must resume with the same thread_id). With invoke, a pending interrupt shows up in the result under "__interrupt__".
Three rules from the LangGraph docs that save hours:
- The node restarts from the beginning on resume. Here the whole
toolsnode runs again, so anything beforeinterrupt()executes twice. Keep side effects (the actual refund API call) after it, or make them idempotent. - Don't wrap
interrupt()in a baretry/except. It pauses by raising a special exception, and a broad handler swallows it. - Keep the order of interrupts deterministic. Resume values are matched to
interrupt()calls by position within the node.
For the common case of "approve this tool call", LangChain's create_agent also offers HumanInTheLoopMiddleware. interrupt() is the general version: it works in any node, including mid-workflow review steps that have nothing to do with tools.
from langgraph.checkpoint.memory import InMemorySaver
from langgraph.types import Command

from agent import builder

graph = builder.compile(checkpointer=InMemorySaver())
config = {"configurable": {"thread_id": "refund-7"}}

result = graph.invoke(
    {"messages": [{"role": "user", "content": "Order A100 arrived broken. Please refund it in full."}]},
    config,
)

if "__interrupt__" in result:
    print("Needs approval:", result["__interrupt__"][0].value)
    decision = input("approve / reject: ").strip()
    result = graph.invoke(Command(resume=decision), config)

result["messages"][-1].pretty_print()
Step 6: Stream Tokens and Updates
Agents are slow, and invoke makes users stare at a blank screen until the end. graph.stream() yields output while the graph runs. The stream_mode argument picks what you get:
"values": the full state after each step."updates": only what each node changed, as{node_name: update}. Best for progress UIs ("looking up order...")."messages": LLM output token by token, as(message_chunk, metadata)tuples.metadata["langgraph_node"]tells you which node produced it. This works even though our node callsmodel.invoke(), not.stream()."custom"(your own events viaget_stream_writer), plus"checkpoints","tasks"and"debug"for tooling.
Pass a list, like stream_mode=["updates", "messages"], and each item becomes a (mode, data) tuple. Since LangGraph 1.1 you can also pass version="v2" to get every chunk as a dict with type, ns and data keys, which is easier to handle when you mix modes. LangGraph 1.2 added an event-streaming API, graph.stream_events(..., version="v3"), which the docs now point new applications to. The classic stream() call below is still the default and works the same as before.
from agent import graph

inputs = {"messages": [{"role": "user", "content": "What did I pay for order A100?"}]}

# 1. Progress: what each node changed
for chunk in graph.stream(inputs, stream_mode="updates"):
    for node_name, update in chunk.items():
        print(f"--- {node_name} ---")
        update["messages"][-1].pretty_print()

# 2. Tokens: the model's answer as it is generated
for token, metadata in graph.stream(inputs, stream_mode="messages"):
    if metadata["langgraph_node"] == "agent" and token.text:
        print(token.text, end="", flush=True)
print()
The Prebuilt Shortcut: create_agent
You just built a ReAct agent by hand. For many apps you don't have to. LangGraph v1 deprecated create_react_agent from langgraph.prebuilt; its replacement is LangChain's create_agent, which builds the same model → tools → model loop and returns a compiled LangGraph graph. Checkpointers, thread_id, streaming and interrupts all work the same way. The migration is mostly a rename: create_agent(model, tools, system_prompt=...) instead of create_react_agent(model, tools, prompt=...).
Extra behavior comes from middleware rather than extra nodes: retries, model fallbacks, summarizing long histories, call limits, PII redaction and tool approval (HumanInTheLoopMiddleware).
Rule of thumb: use create_agent when your agent is "a model with tools". Write a StateGraph when you need steps the loop can't express: a fixed validation step, branching by ticket type, parallel research, an approval gate in the middle of a workflow. You can combine them too: a create_agent agent can be one node of a bigger graph.
from langchain.agents import create_agent
from langgraph.checkpoint.memory import InMemorySaver

from agent import lookup_order, issue_refund

support_agent = create_agent(
    model="openai:gpt-5.5",
    tools=[lookup_order, issue_refund],
    system_prompt="You are a support agent for an online store. Keep replies short.",
    checkpointer=InMemorySaver(),
)

config = {"configurable": {"thread_id": "customer-42"}}
result = support_agent.invoke(
    {"messages": [{"role": "user", "content": "Has order A101 shipped yet?"}]},
    config,
)
result["messages"][-1].pretty_print()
Run It in LangSmith Studio and Deploy It
Studio (now called LangSmith Studio in the docs) is a free visual interface for your graph: you see the nodes, send messages, watch state change step by step, and answer interrupts from the UI. It runs against a local dev server:
- Install the CLI (it needs Python 3.11+):
uv add "langgraph-cli[inmem]". - Add a
langgraph.json(below) next toagent.py. Each entry ingraphsis"./file.py:variable"and points at a compiled graph. - Put
OPENAI_API_KEYandLANGSMITH_API_KEYin.env. Studio needs a LangSmith account, which is free to sign up for. - Run
uv run langgraph dev. The API starts athttp://127.0.0.1:2024, with API docs at/docs, and the CLI prints a Studio link (https://smith.langchain.com/studio/?baseUrl=http://127.0.0.1:2024). Safari blocks localhost connections; uselanggraph dev --tunnelthere.
Notice we point the server at graph, compiled without InMemorySaver: the server manages persistence and threads itself.
Deploying. You have three realistic options:
- LangSmith Deployment, LangChain's managed platform for stateful agents.
- Self-hosted Agent Server:
langgraph build -t my-imageproduces a Docker image of the API server. Running it in production needs a LangSmith license key, plus your own Postgres and Redis. - Plain Python: LangGraph is just a library. Wrap
graphin FastAPI (or anything else), compile it withPostgresSaver, and deploy it like any other service. No license needed.
{
  "dependencies": ["."],
  "graphs": {
    "support_agent": "./agent.py:graph"
  },
  "env": ".env"
}
When to Use LangGraph (and When Not To)
Use LangGraph when control flow is the hard part:
- Your workflow mixes fixed steps and LLM decisions: validate input, let the model plan, run a required approval step, then execute.
- You need branching, loops or parallel steps that don't fit a single model → tools loop.
- You need human approval in the middle of a process, or runs that pause for hours and survive restarts.
- You're building a multi-agent system and want to decide exactly who hands off to whom.
Skip it (or start higher up) when:
- Your agent is a model with a few tools. Use
create_agent. See LangChain vs LangGraph for side-by-side code. - Your problem reads like a team of specialists passing work down a line. CrewAI gets there with less code; see LangGraph vs CrewAI.
- You want type-safe agents with validated structured output and little framework. PydanticAI fits better.
For the full landscape (PydanticAI, CrewAI, OpenAI Agents SDK, Google ADK, Claude Agent SDK, Mastra and more), read our AI agent frameworks guide.
Common Mistakes
- Copying a pre-1.0 tutorial.
create_react_agentis deprecated, and so areMessageGraphand the oldAgentStateprebuilts. CustomStateGraphcode, checkpointers,interrupt(),CommandandSendwork unchanged. - Returning the whole state from a node. Return only the keys you changed. Returning
state["messages"]again throughadd_messageswon't duplicate messages (it updates them by ID), but withoperator.addyour lists will double. - A list key without a reducer. Two nodes writing the same plain key in one step raises an error; give that key a reducer.
- Forgetting the
thread_id. Memory, interrupts andget_stateall need{"configurable": {"thread_id": ...}}. Use a stable ID per conversation. - Using
InMemorySaverin production. Every restart wipes every conversation. Switch to Postgres or SQLite before you ship. - Side effects before
interrupt(). They run again on resume.
Next Steps: The Best LangGraph Course and Beyond
You now have a LangGraph agent with tools, memory, human approval and streaming: the same building blocks production agents use. Where to go next:
- Go deeper on LangGraph with the free LangChain Academy course picked above: subgraphs, map-reduce with
Send, time travel and long-term memory with stores. - Learn the agent fundamentals in a lighter framework with our free 8-lesson PydanticAI course: tools, multi-agent systems, memory, testing and evals, and production deployment. The concepts carry straight back to LangGraph.
- Compare every course worth your time in our best AI agent courses roundup, with free options and certificate details.
FAQ
- Is LangGraph free?
- Yes. LangGraph is open source under the MIT license, for both Python (langgraph) and JavaScript (@langchain/langgraph). You pay only for the model API calls your agent makes. LangSmith, used for tracing, Studio and managed deployment, is a separate product with a free account tier and paid plans.
- What is the difference between LangGraph and LangChain?
- LangGraph is the low-level runtime: graphs, state, checkpoints, interrupts and durable execution. LangChain is the higher-level agent framework on top of it, with create_agent, middleware and model integrations. create_agent returns a compiled LangGraph graph, so the two are layers of one stack rather than competitors.
- Do I need LangSmith to use LangGraph?
- No. Everything in this tutorial runs without LangSmith. You need a LangSmith account (free to sign up) only for Studio, tracing, or LangSmith Deployment. Tracing is opt-in through the LANGSMITH_TRACING and LANGSMITH_API_KEY environment variables.
- Is there a JavaScript or TypeScript version of LangGraph?
- Yes. LangGraph.js is the official JS/TS equivalent, installed with npm install @langchain/langgraph @langchain/core, plus a model integration package such as @langchain/anthropic. It has the same concepts: StateGraph, nodes, edges, checkpointers and interrupts.
- Is LangGraph production ready?
- Yes. LangGraph reached 1.0 with stable core APIs, and its README lists companies such as Klarna, Replit and Elastic among its users. For production, use a durable checkpointer like PostgresSaver instead of InMemorySaver, add tracing, and decide whether to self-host or use LangSmith Deployment.
- What is the best LangGraph course?
- LangChain Academy's free Introduction to LangGraph is the most complete: six hours of video from the LangGraph team, covering state, reducers, human-in-the-loop, time travel, memory and deployment. For a shorter start, DeepLearning.AI's AI Agents in LangGraph runs under two hours, but it predates LangGraph 1.0.